In the previous post, we discussed how to install a IMU and got raw data from the 3 sensors: magnetometer, accelerometer and gyrometer. However, we are missing an important step that will enable us to get accurate measurements data: the calibration of the magnetometer. The calibration must be conducted with the IMU in the final enclosure and setup in which the device will be used.
The magnetometer needs to be adjusted to compensate for offset errors (meaning a shift in either direction on the X, Y, Z axis), as well as something called ‘soft iron error’, which causes what should be spherical output of the magnetometer to actually be an elongated ‘pill’ shape or something similar.
I actually followed the step-by-step calibration tutorial by Adafruit: link
We gonna use PJRC MotionCal
I used my mac for the calibration and conneted the arduino to the Mac via USB. You will need a long cable as you will have o move the car in all possible directions.
Download the Motion Sensor Calibration tool for your OS. http://www.pjrc.com/teensy/beta/imuread/MotionCal.dmg
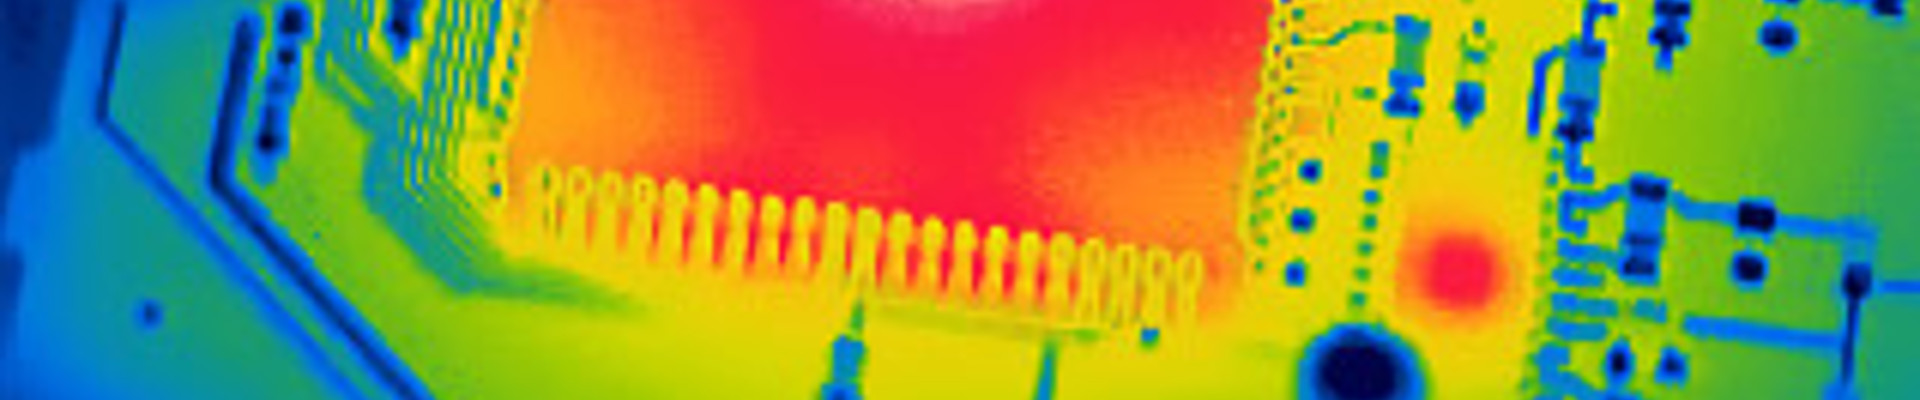
and run it. By default, you should see something like this:
Use the Port menu to select the serial port. Arduino’s serial monitor must be closed.
Download the Adafruit_AHRS from : https://github.com/adafruit/Adafruit_AHRS/blob/master/examples/ahrs_calibration/ahrs_calibration.ino Open ahrs_calibration example with Arduino, and load it. Run the sketch, with the motion cal already open.
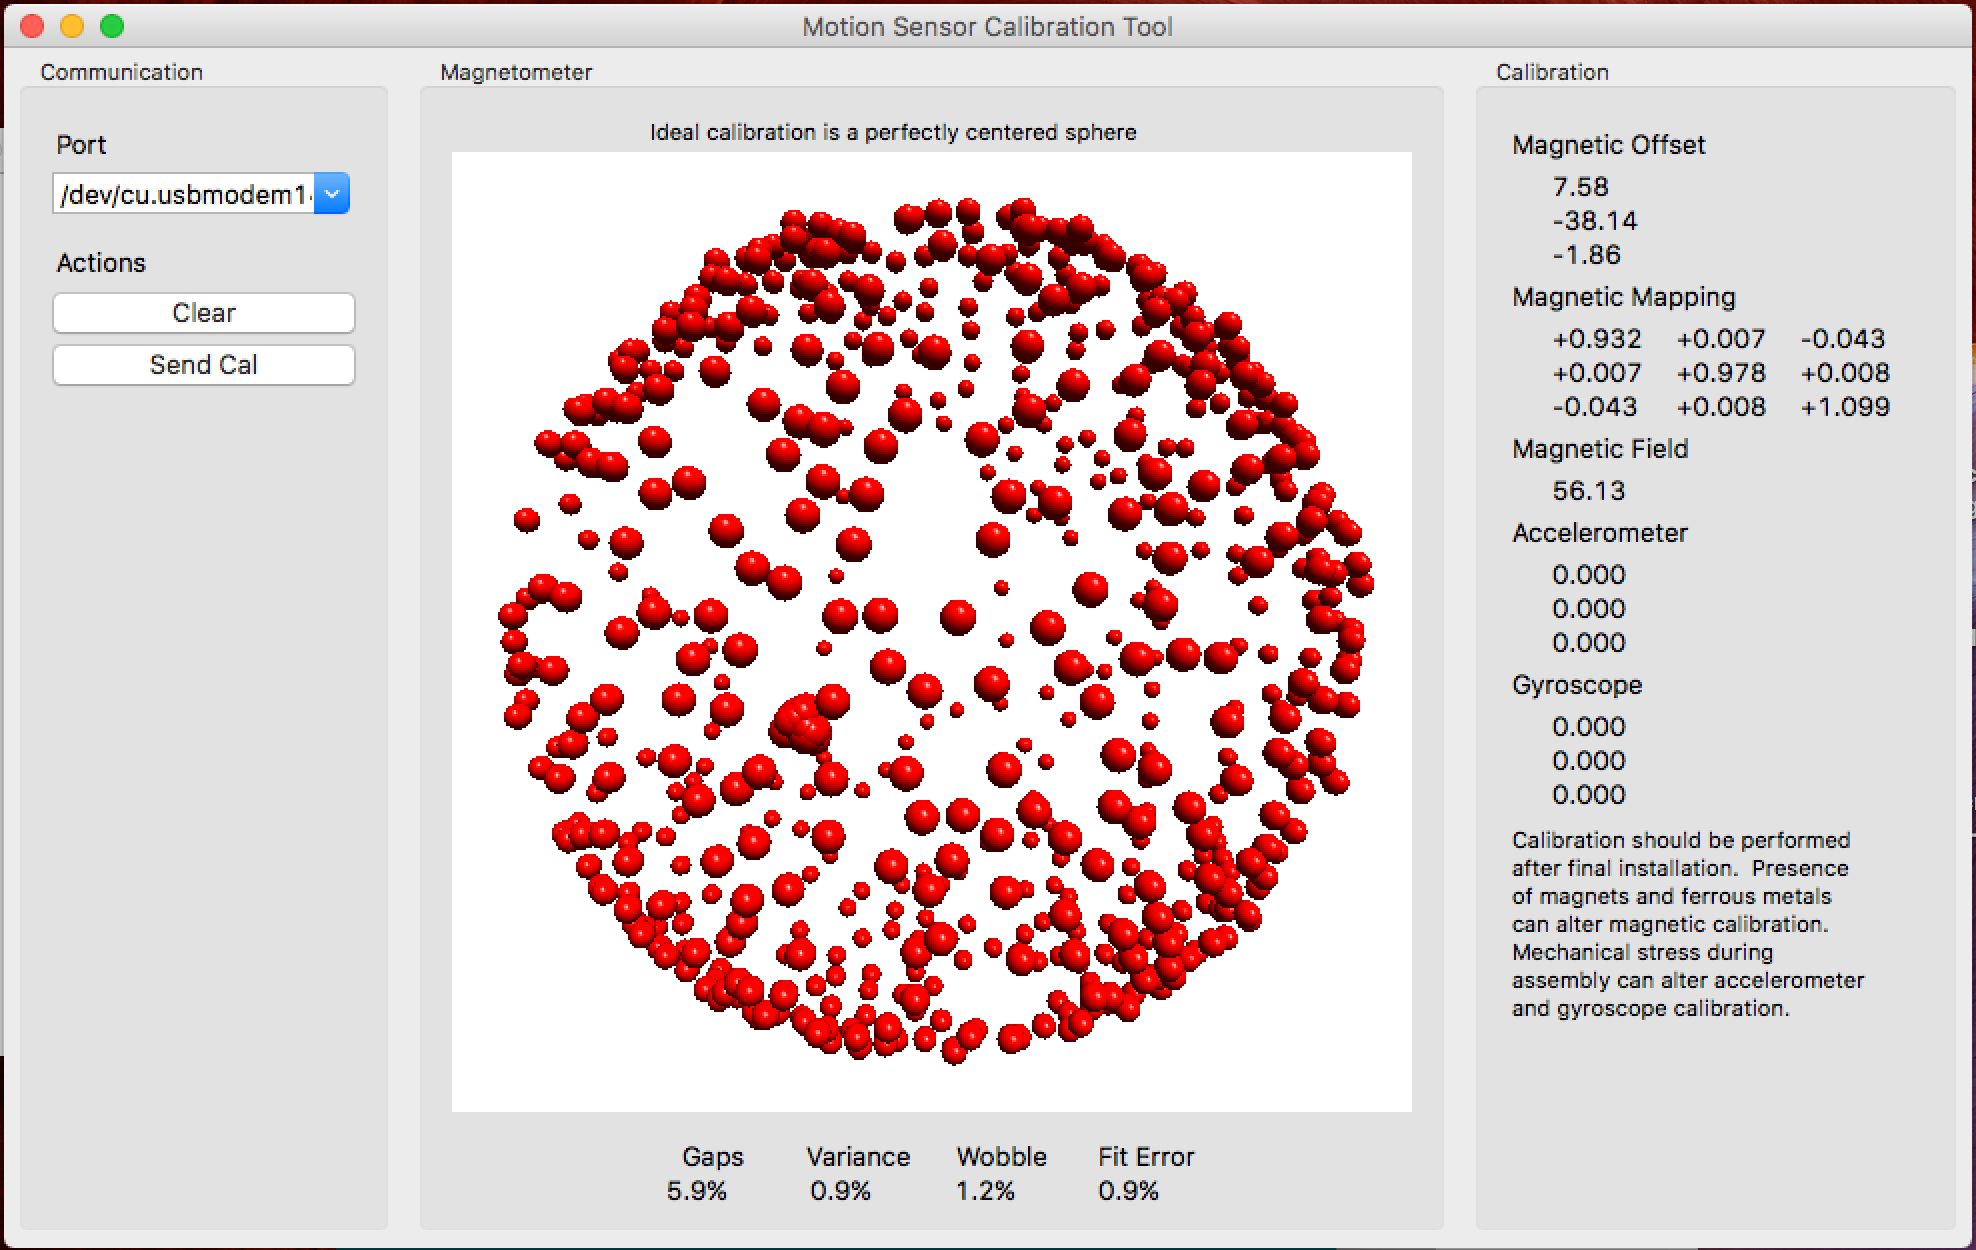
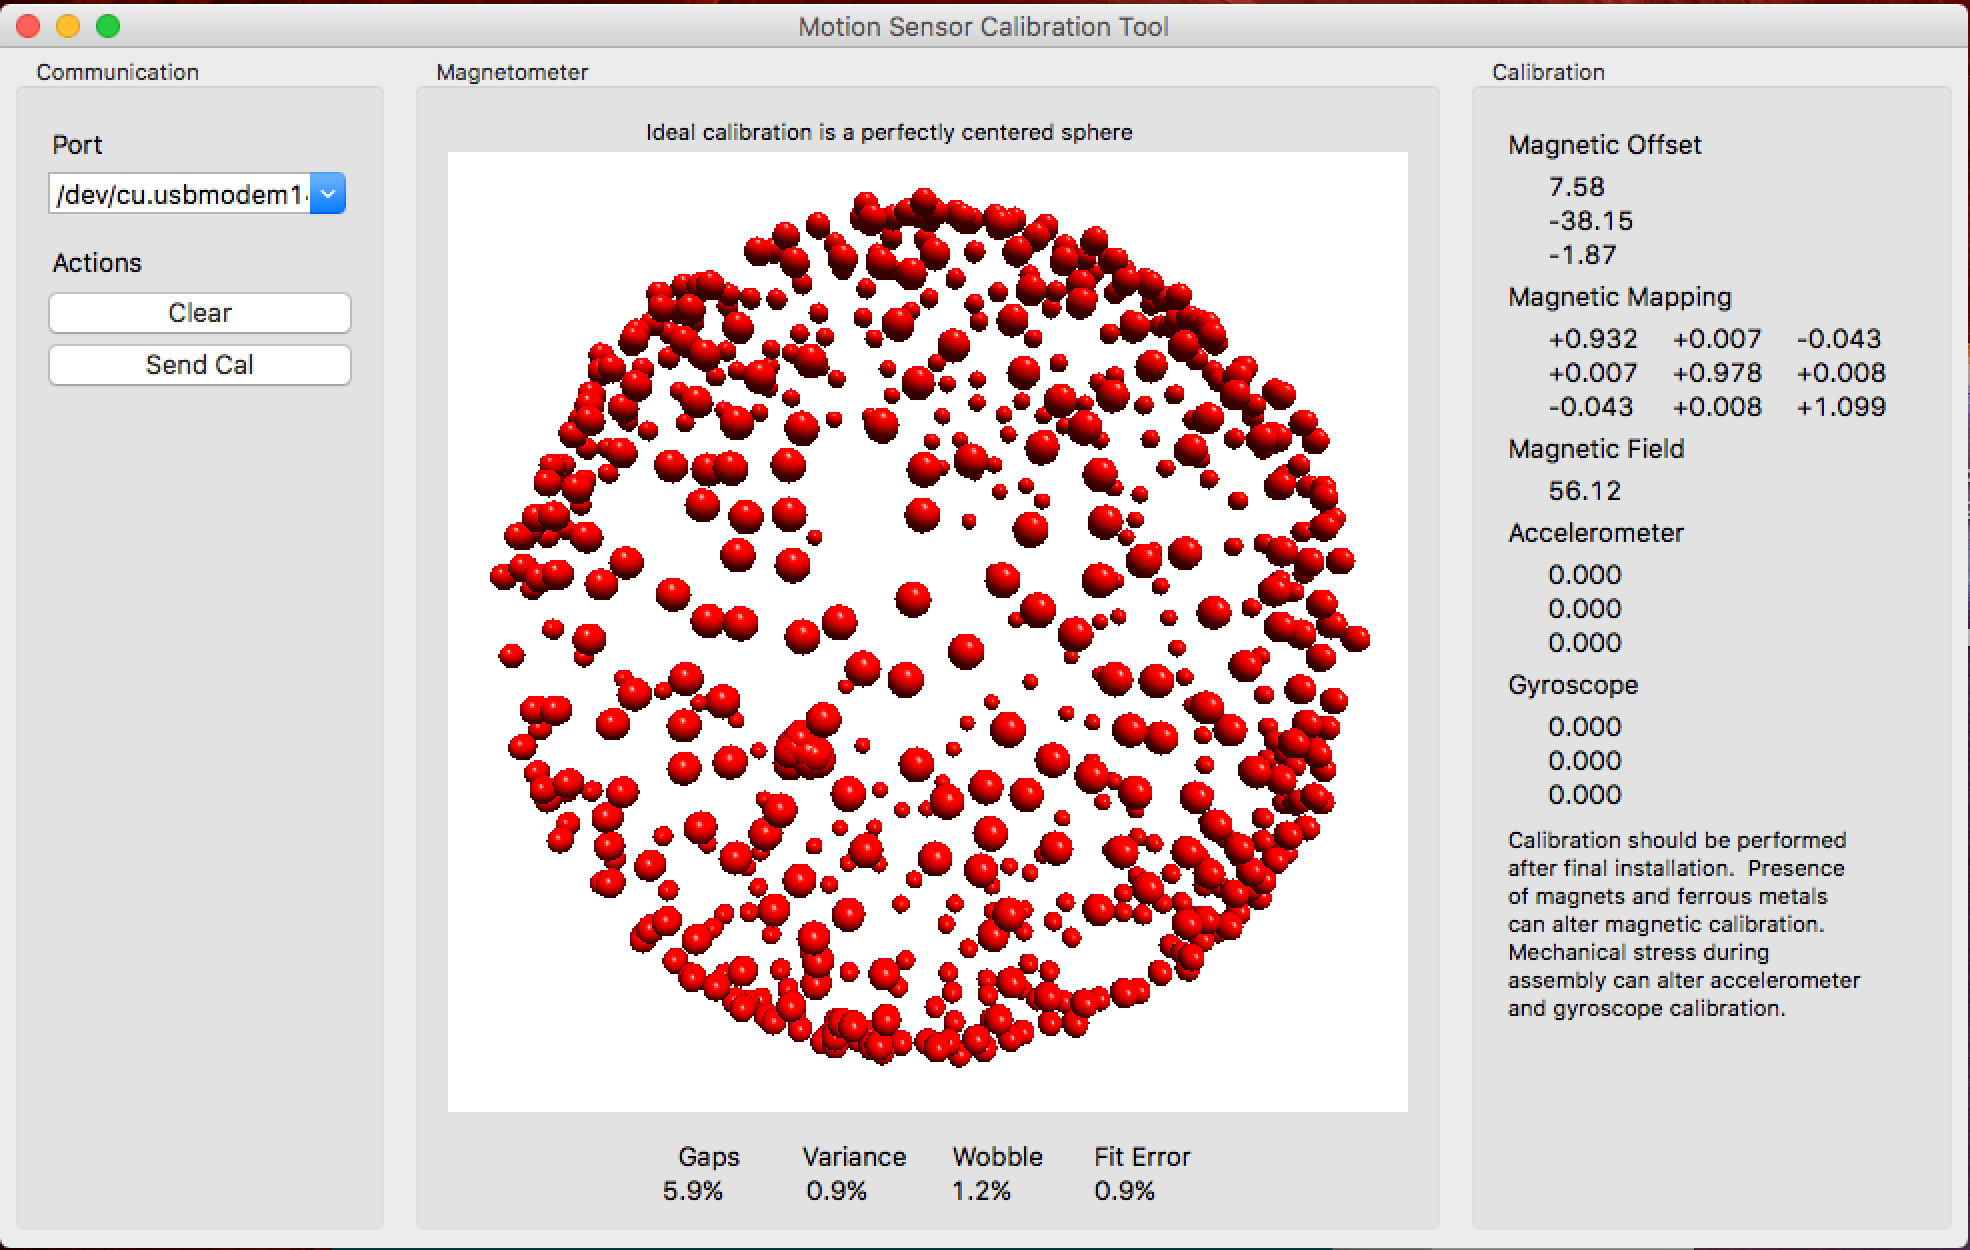
OK, we are all set, let’s generate some calibration data. Here are a few screen shots Start moving the car in all directions. Does not matter if the center of mass of the car drifts. Next run the sketch. The screen should start to populate with red dots. You need to keep moving the device in as many orientations as possible until the sphere is mostly complete and the Gaps percentage on the bottom of the app is reasonably low. A good example of what you should aim for is shown below:
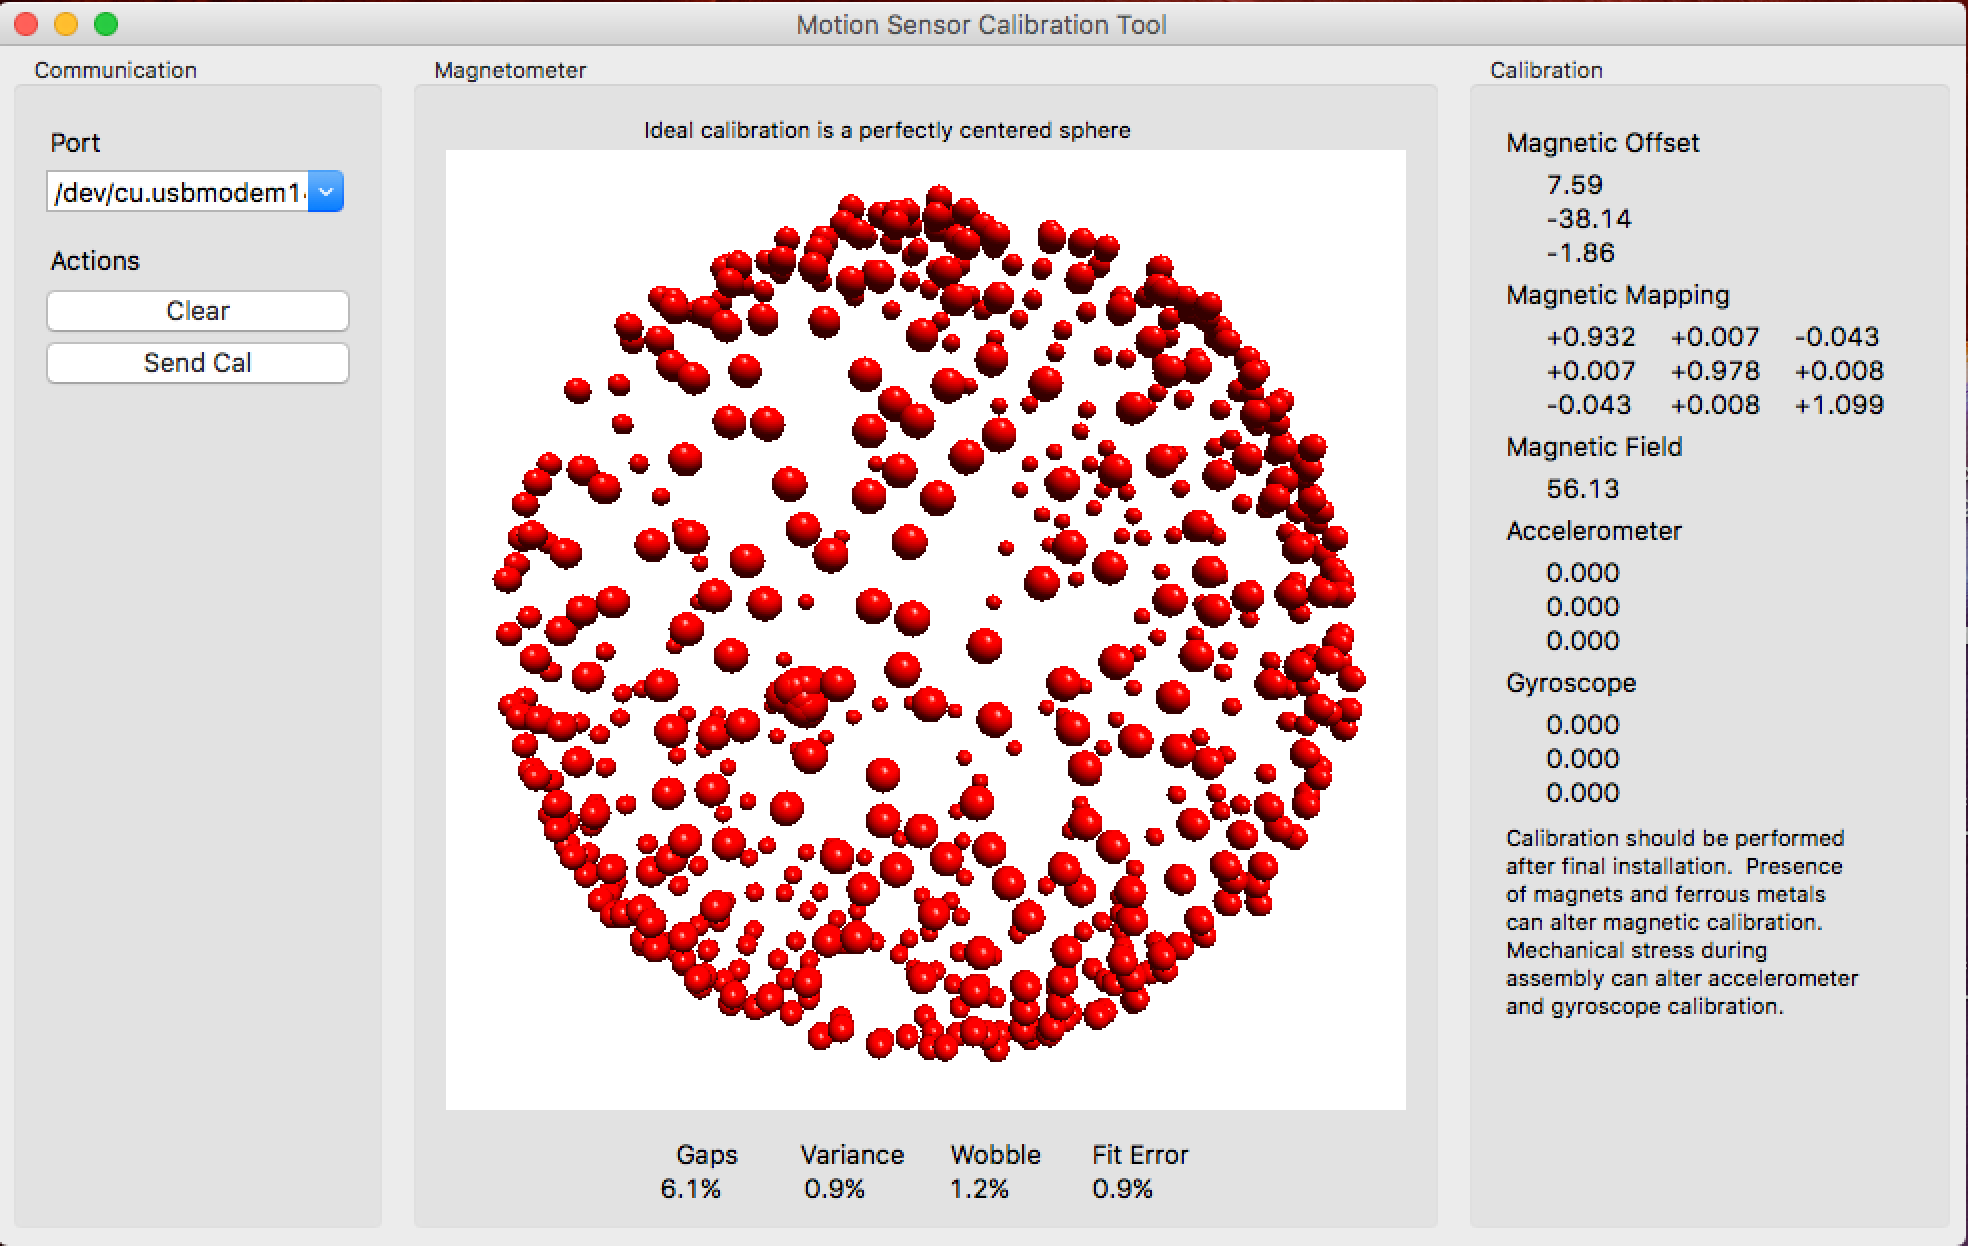
Note Offsets and Magnetic Mapping Values Now that you have determined the values to compensate for magnetometer offset and soft-iron error, make a note of the values in the top-right hand corner of the app, which in this case is: Magnetic Offset
-2.20, -5.53, -26.34 Magnetic Mapping
0.934, 0.005, 0.013 0.005, 0.948, 0.012 0.013, 0.012, 1.129 Magnetic Field
48.41 The magnetic field value is not currently used but should be noted anyway. That’s It!
Now let’s run the correction.
THere is a drift.